

One thing I am never without when we travel is my small bag of health essentials, and "in case of emergency" supplements. It is the WORST to be sick away from home, so I like to know I have some of my basic, go to remedies close at hand. The kit is
Read moreHow to Start Seeds in Eggshells

I've long had a love for indoor gardening. Not only does it clean your air, it also gives me something pretty and green to look at! I've been growing herbs
Read moreHow to Freeze Fresh Herbs

Korea has some great fresh veggies, however the only “familiar” herbs you will find in supermarkets is (sometimes) parsley (on a good day). It makes sense, because
Read moreGreen Clean Monday: DIY Toilet Bowl Cleaner
I have been on a mad search to somehow get internet while we are at school. While we work full time, there is sometimes a lot of desk warming involved in being an English teacher in Korea. Not that I’m complaining, but
Read moreVinegar: The All Natural Fabric Softener
The past couple months I've been working hard to "greenify" my laundry routine. I started out with homemade laundry detergent, and then began using wool dryer balls in place of dryer sheets. Not only am I saving the environment from
Read moreD.I.Y. Air Freshener and Furniture Spray

Green Clean Monday: Eco-Friendly Swiffer Refills

I have to be honest, I'm a die-hard fan of steam mops. I cleaned houses for years, and when one of the women I worked for excitedly showed me the new steam mop she purchased
Read moreGreen Clean Monday: Homemade Laundry Detergent

DIY Coconut Lime Lotion
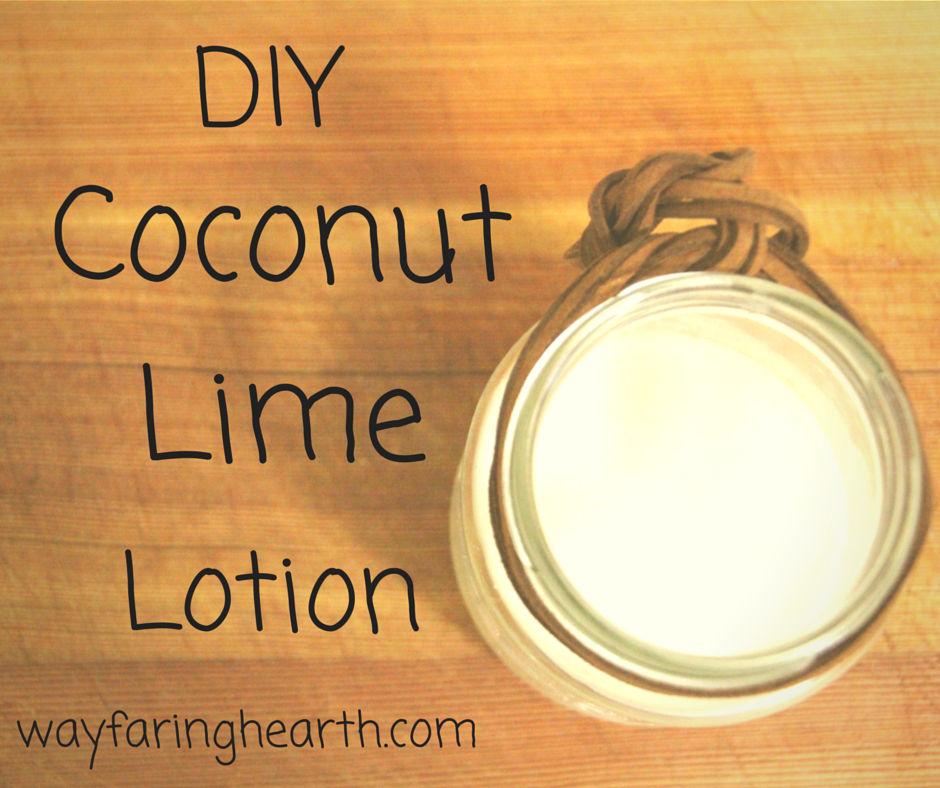
DIY coconut lime lotion
During the Snowcalypse of 2013 I often dreamed of being whisked away to a tropical place. I love snow,and sweaters, and turning the heat on...until after Christmas. Anyone with me? I'm a summer girl at heart, and this DIY Coconut Lime Lotion takes me back to sun-filled days with it's scent. The best part about it is that there is absolutely NOTHING artificial about its smell. The combination of coconut oil and lime essential oil does the trick, and to date is the best smelling coconut lime lotion I've experienced.

DIY coconut lime lotion
This lotion is not as heavy as my Vanilla Cinnamon Whipped Body Butter, and is a great apply-and-go lotion. It is even the perfect texture to put in a squeeze bottle!
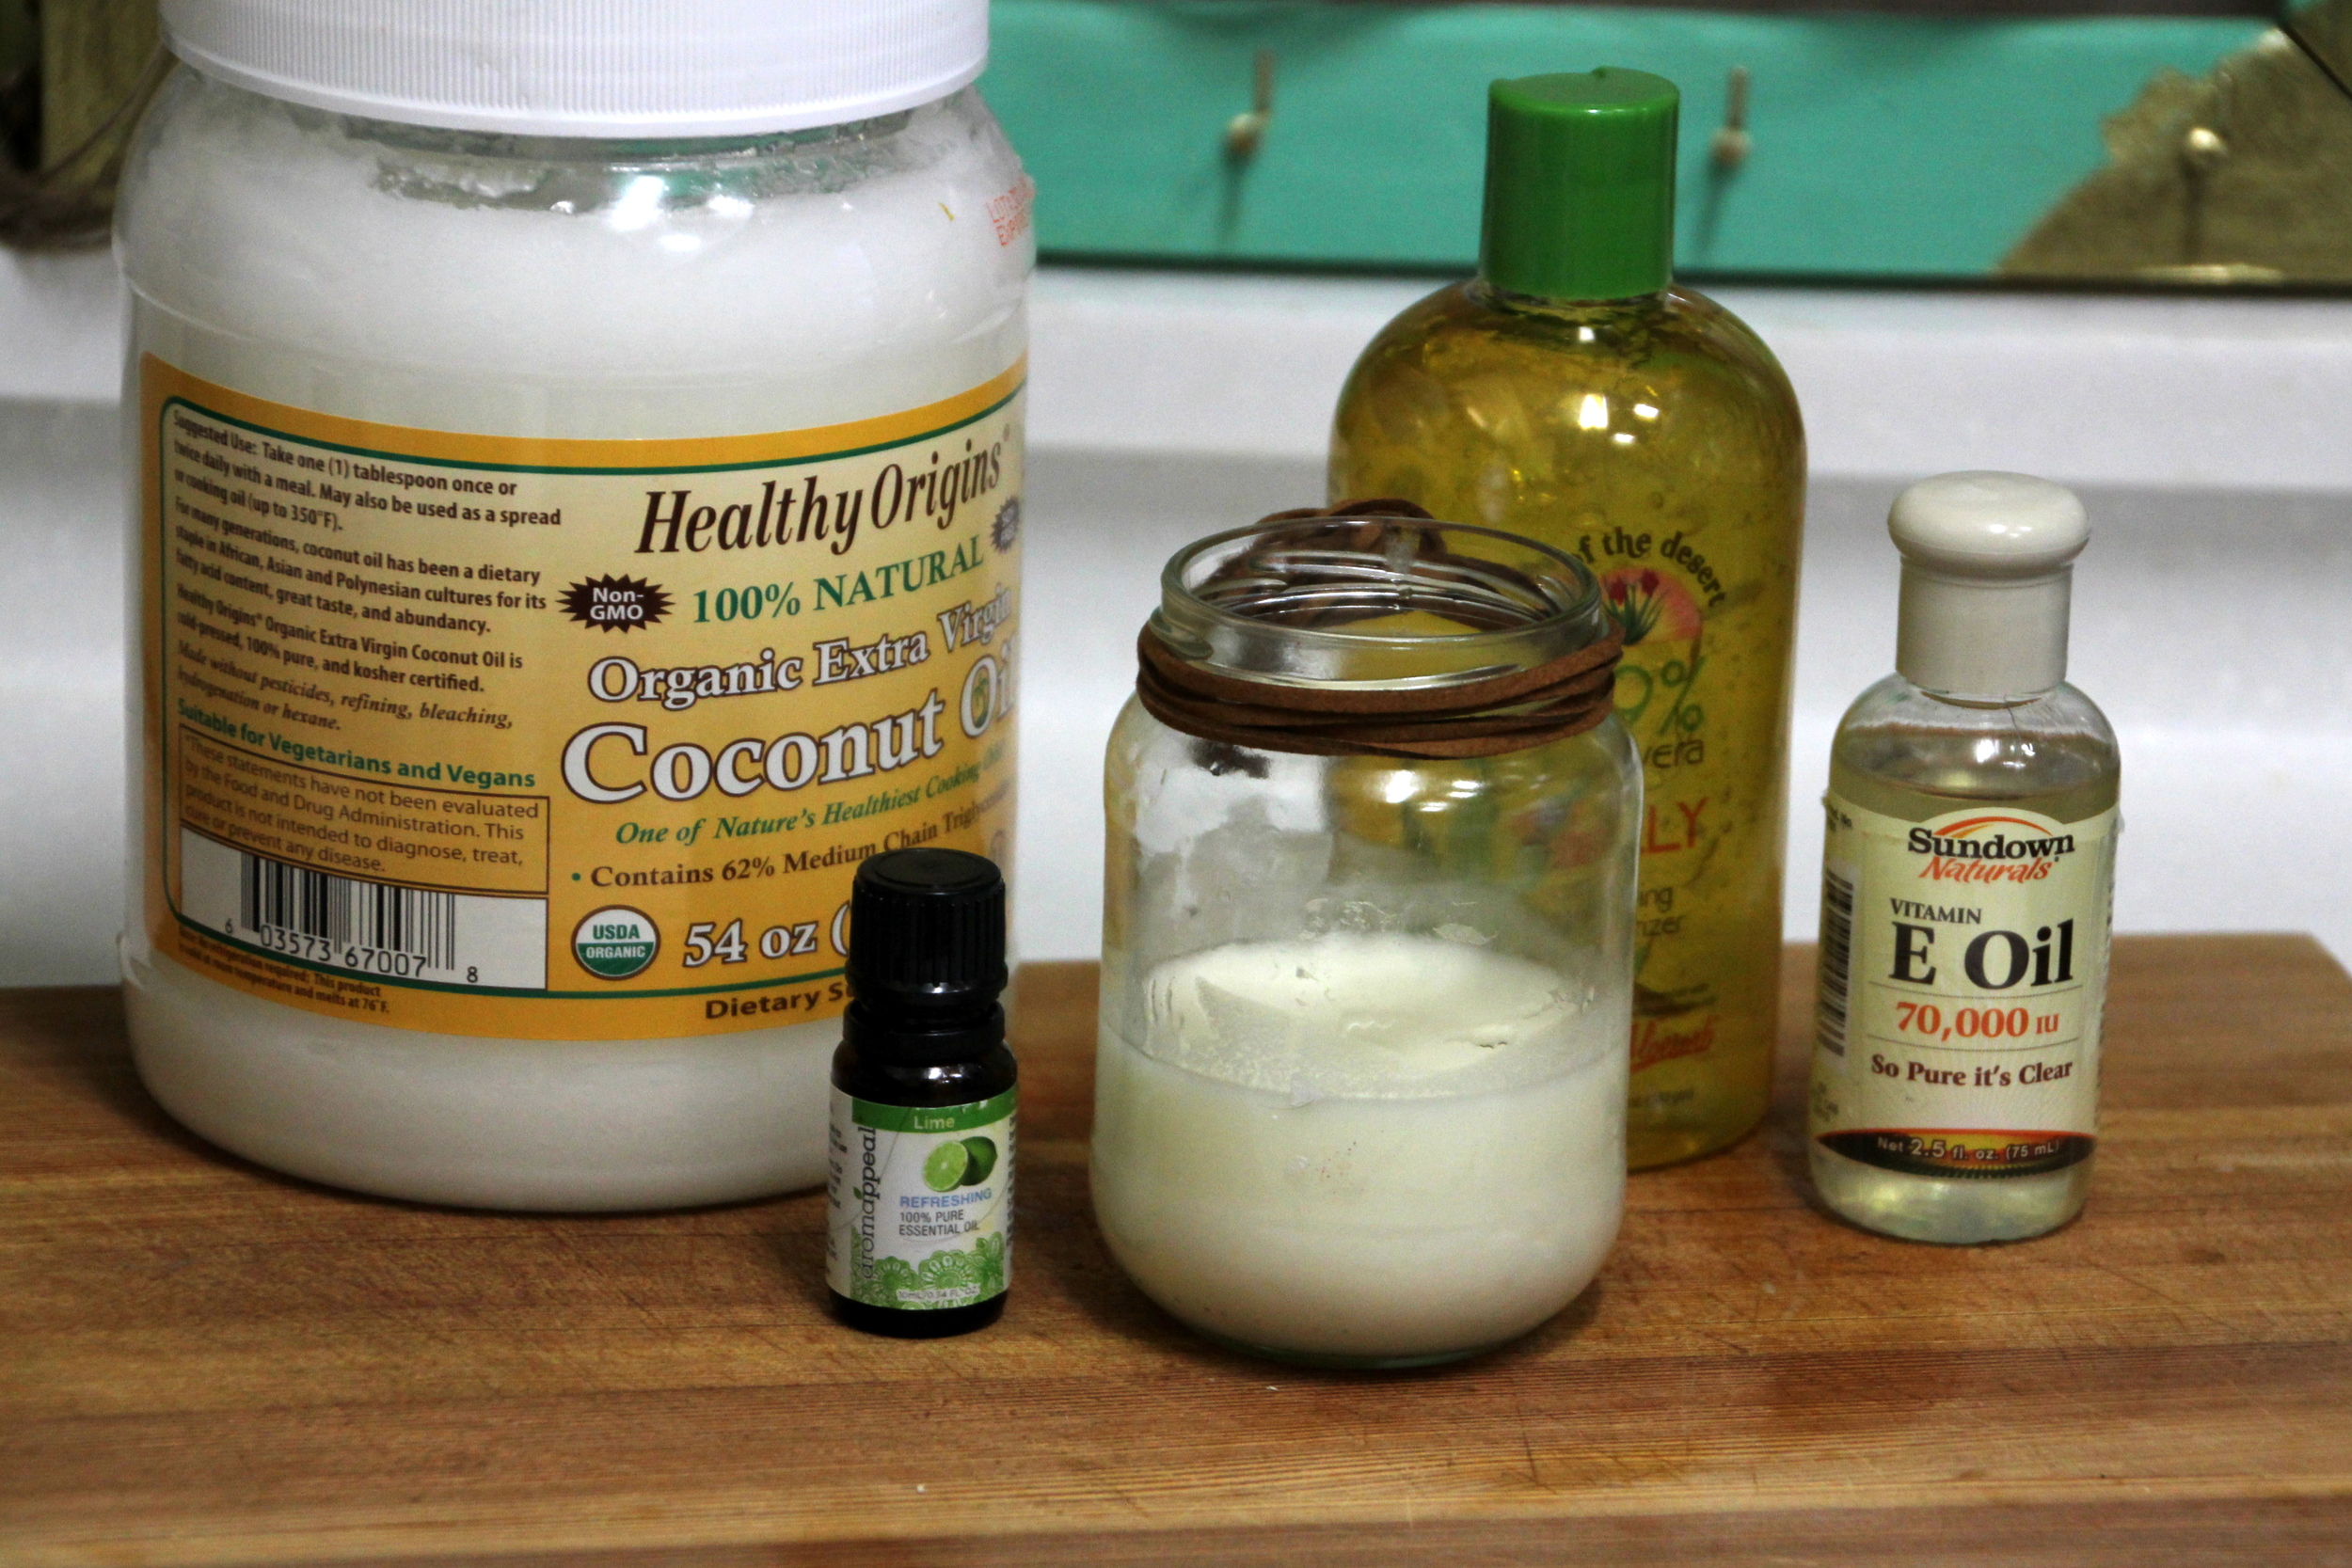
The recipe is super simple, and takes about 5 minutes (no kidding) from start to finish. Get started by grabbing these things:
1/8 cup aloe vera gel
1/4 cup coconut oil (I but this stuff in bulk since I use it so much)
1/4 cup fair trade shea butter
1 teaspoon vitamin E oil
10 drops lime essential oil
A note about aloe vera gel: 100% aloe vera gel is perishable, so I buy the next best thing, which is 99% aloe vera gel from a company I trust. Be sure to check ingredients when choosing your favorite brand.

DIY coconut lime lotion
Do you see my homemade extracts spicing up the background? I can't wait for them to be done!
Measure out all of your ingredients and put them in a bowl. Using a hand mixer, mix them on medium for 2 minutes, or until completely smooth with no lumps.

DIY coconut lime lotion

DIY coconut lime lotion
As you probably know, coconut oil solidifies at cool temperatures, but with this combination of ingredients you don't have to worry about that. It stays beautifully spreadable even if it's chilly in your home.
Throw your lotion in an up-cycled jar, and you're finished! Try it out and tell me what you think! What's your favorite ingredients to add to homemade lotions?
DIY coconut lime lotion
DIY coconut lime lotion
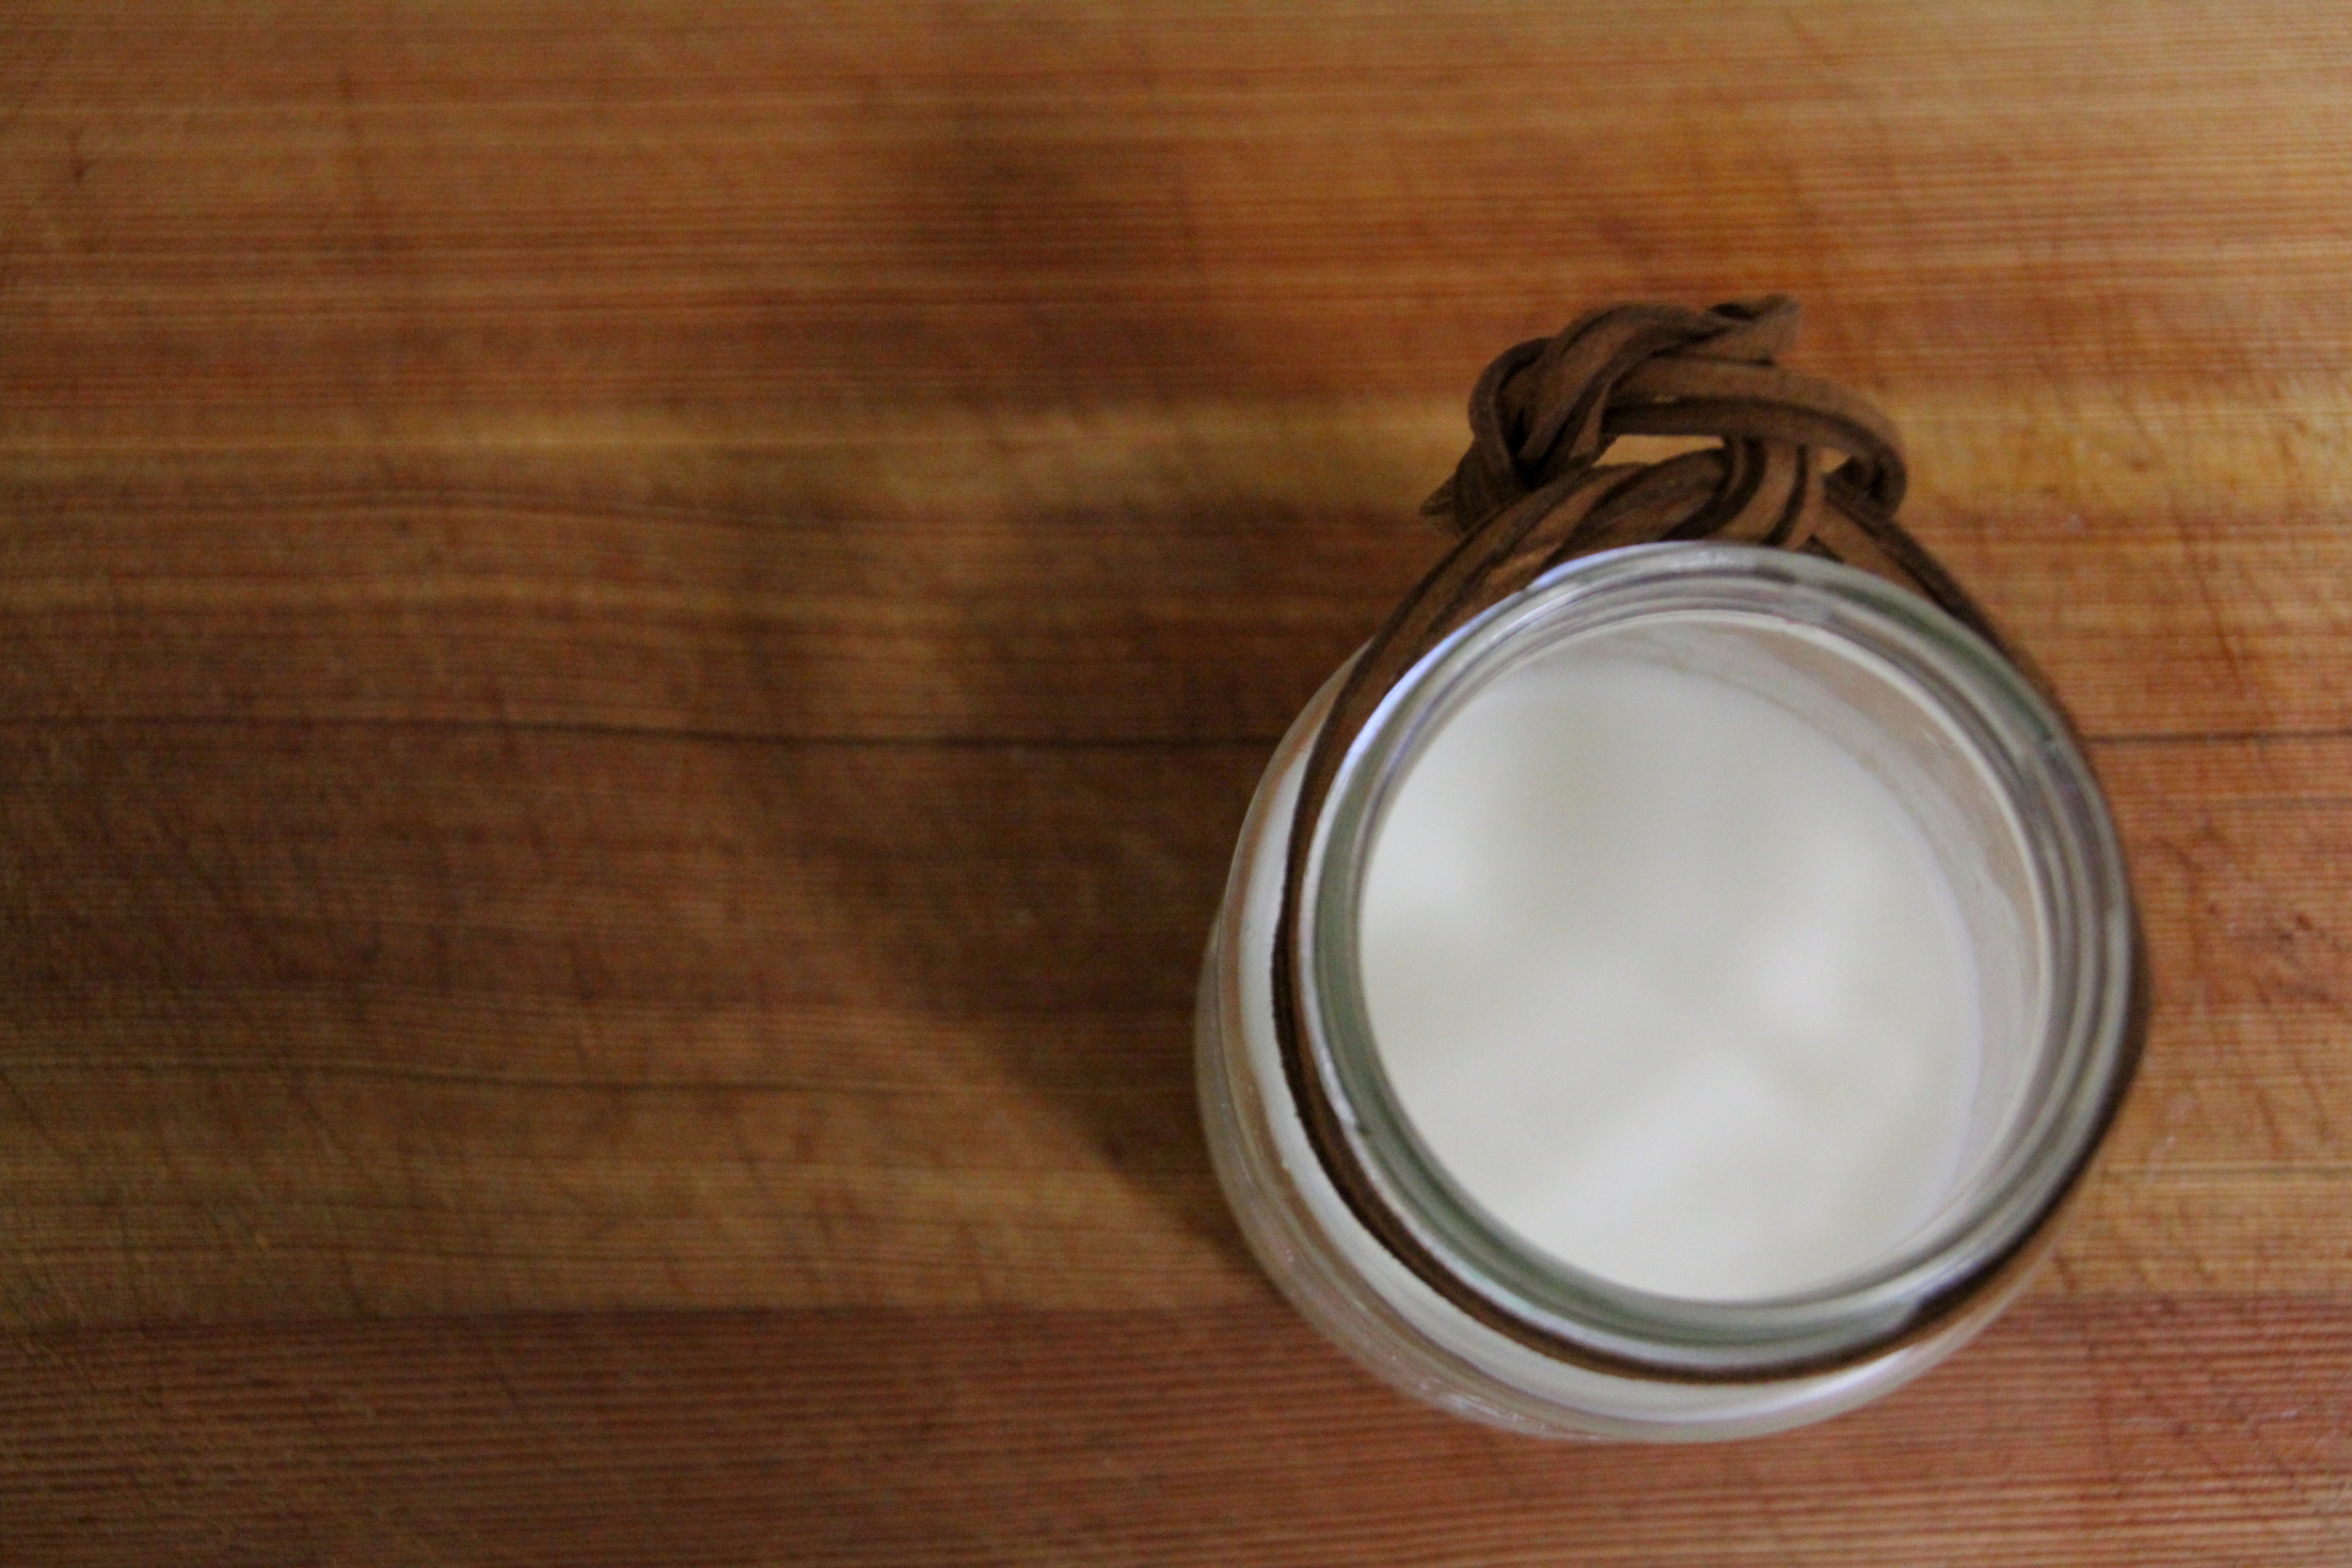
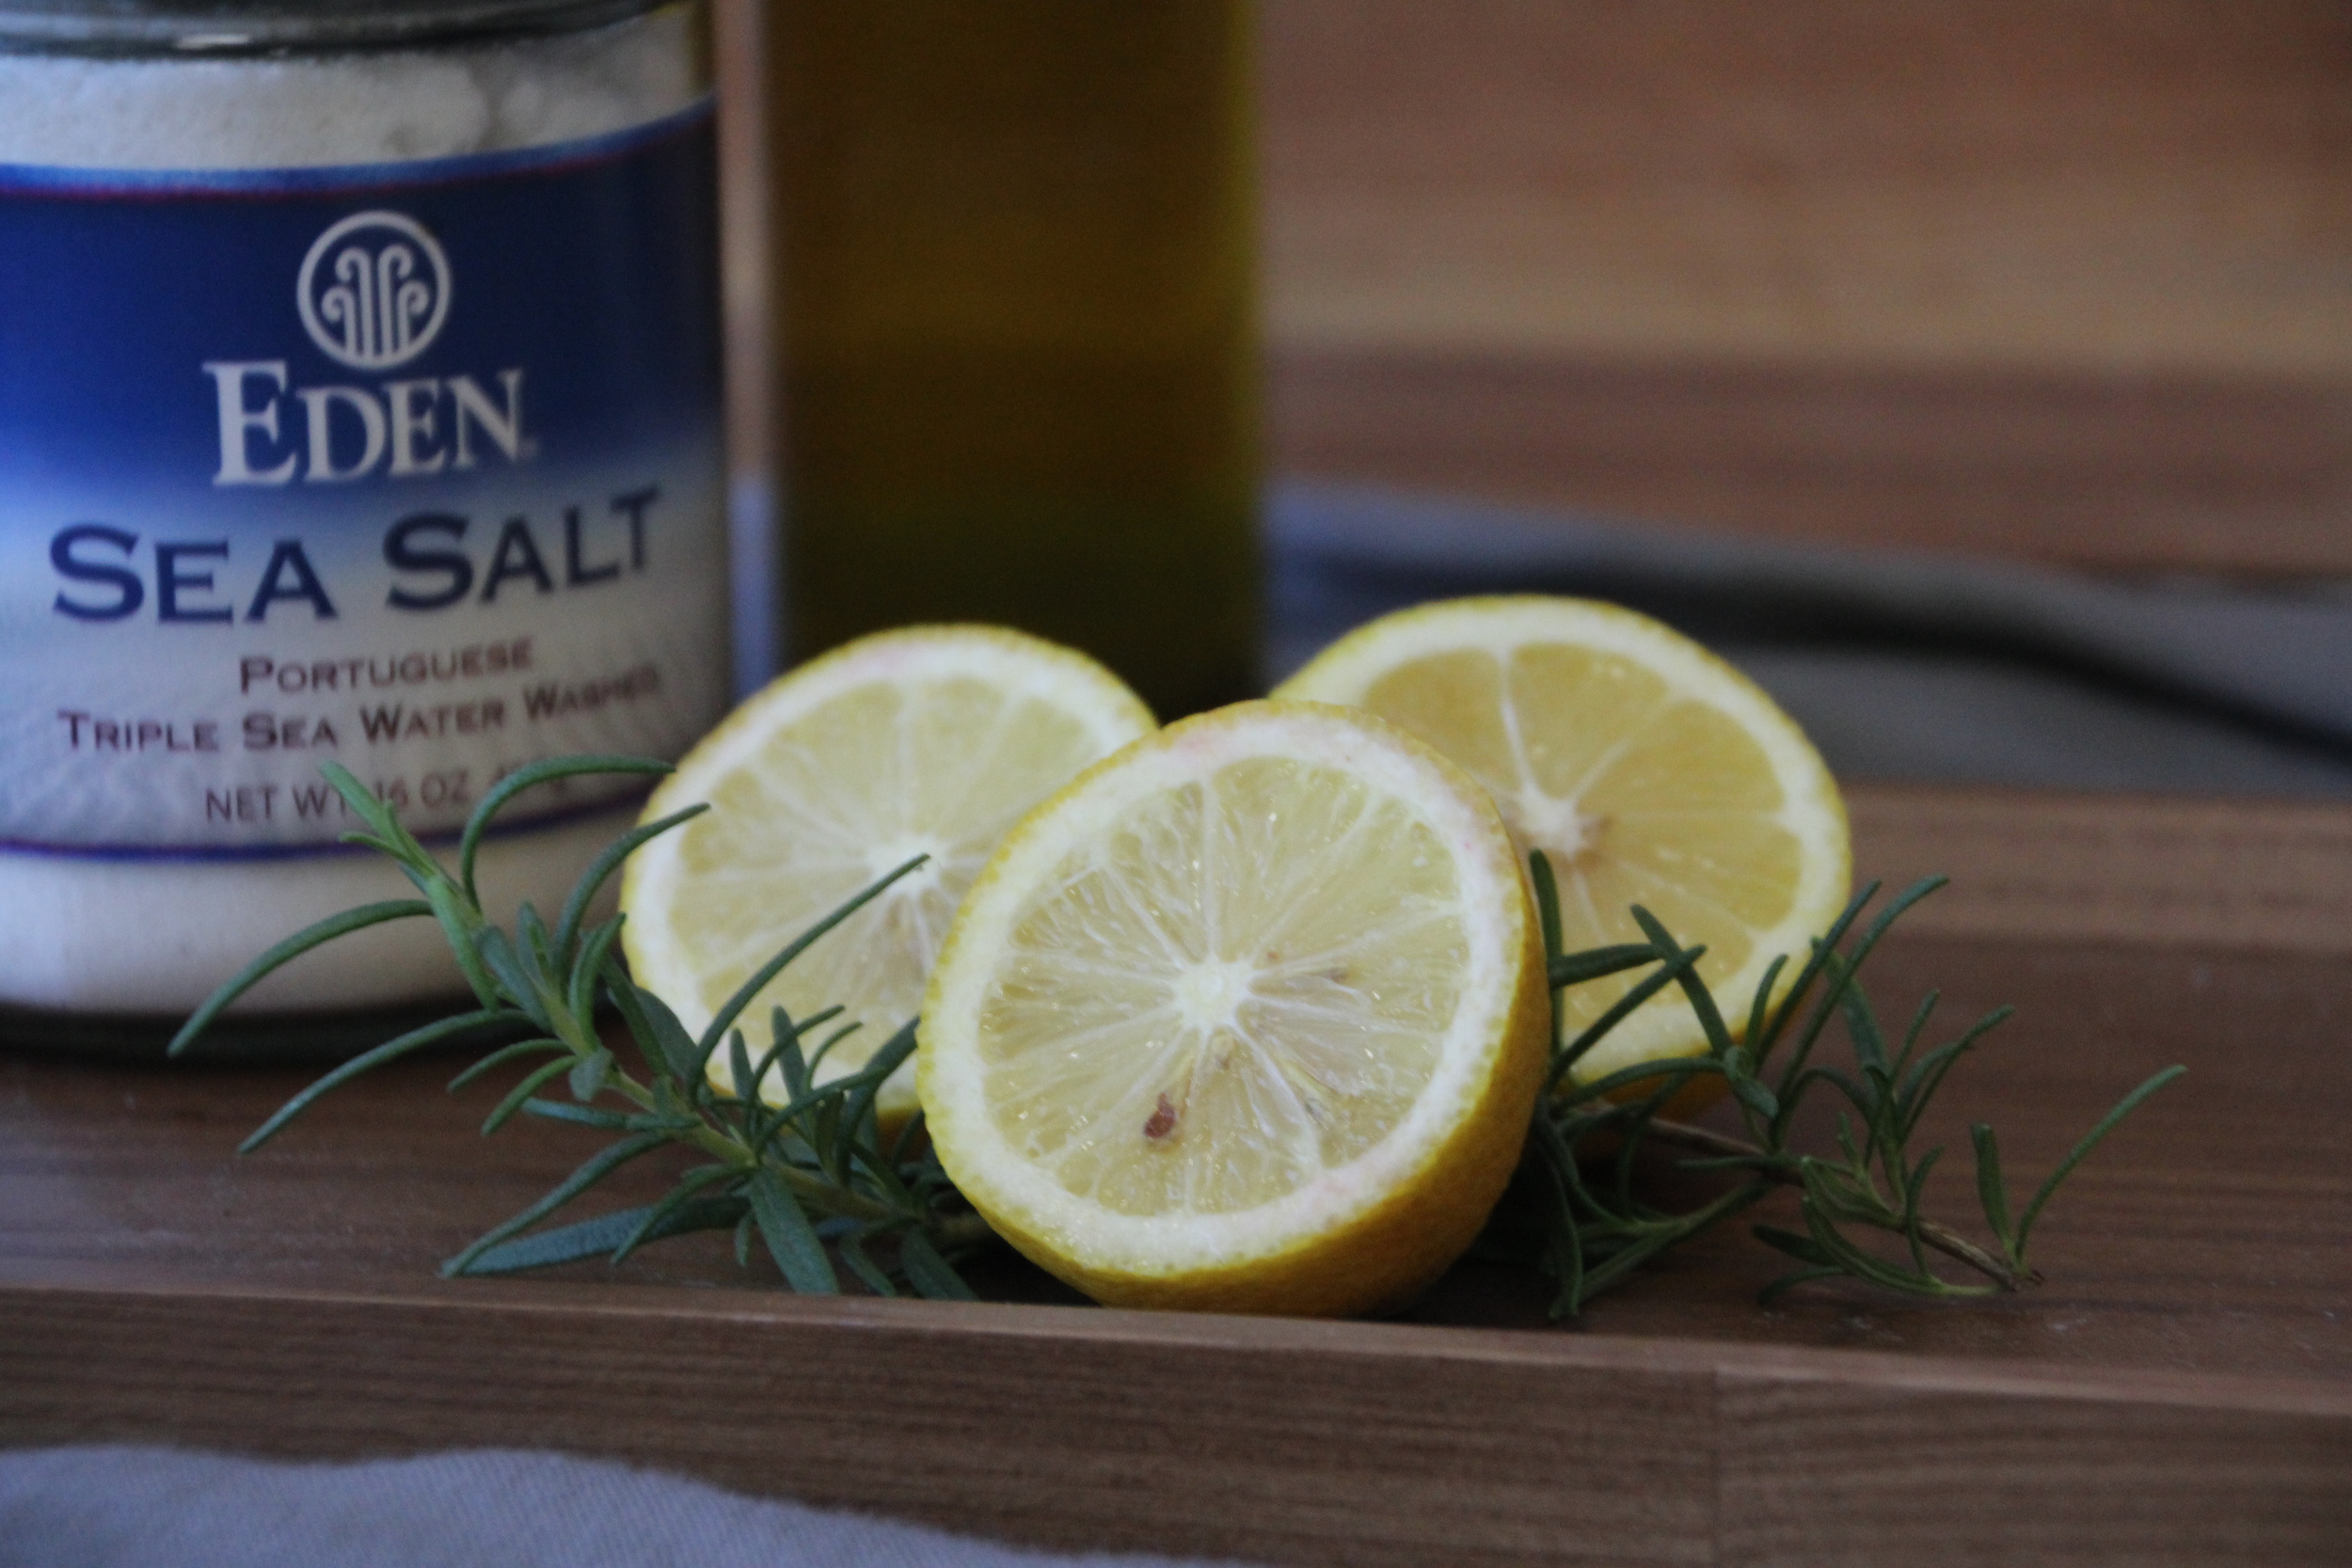
Purifying Rosemary-Lemon Scrub

Purifying Rosemary-Lemon Scrub
I miss my bathtub. On Saturdays, I would sometimes take a detox bath to relax and rid my body of toxins. Don't get me wrong, I'm thankful we have a shower with hot water. In college, I did a semester abroad in the Dominican, and had enough cold rain-water bucket baths to never underestimate the value of a hot shower again. Anyway, I decided to create a scrub with similar benefits as my beloved detox baths, and came up with this Rosemary-Lemon Sea Salt Scrub.
Rosemary's lists of benefits goes on and on, and it's one of my favorite herbs to grow and cook with (bonus: the plant is pretty hard to kill). The oil is made from the leaves of the plant, and contains antimicrobial and antioxidant properties, which makes it an excellent nemesis against skin disorders. It contains many anti-oxidants as well, and can fight free-radicals. While it has many of these purifying properties, rosemary oil does not dry out your skin. Instead, it nourishes it with many vital nutrients. Yay, rosemary!
Purifying Rosemary-Lemon Scrub
You may already know of my love for lemon oil and its ability to fight heartburn, but it is also a key player in this scrub. I could go on and on about this oil, but specifically for external use, lemon oil detoxifies and rejuvenates the skin, making it the perfect partner for rosemary oil. It also increases circulation, clears the nasal passages, and gives your immune system an extra boost. BOTH rosemary and lemon are used in aromatherapy to lift the mood, so you can pamper yourself with a little aromatherapy treatment while you exfoliate!

Purifying Rosemary-Lemon Scrub
This takes about 5 minutes to whip up, and it oh so worth it! First, grab these things:
1 cup sea salt (I used fine grained sea salt since it's what I had on hand, but you can use coarser sea salt as well)
1/3 cup olive oil
1/2 Tablespoon vitamin E oil
1 lemon
Rosemary sprig (optional)
Rosemary Oil
Lemon Oil
Measure out your sea salt and pour it in a jar.

Purifying Rosemary-Lemon Scrub
Pour in your 1/3 cup of olive oil and 1/2 Tablespoon of vitamin E oil.
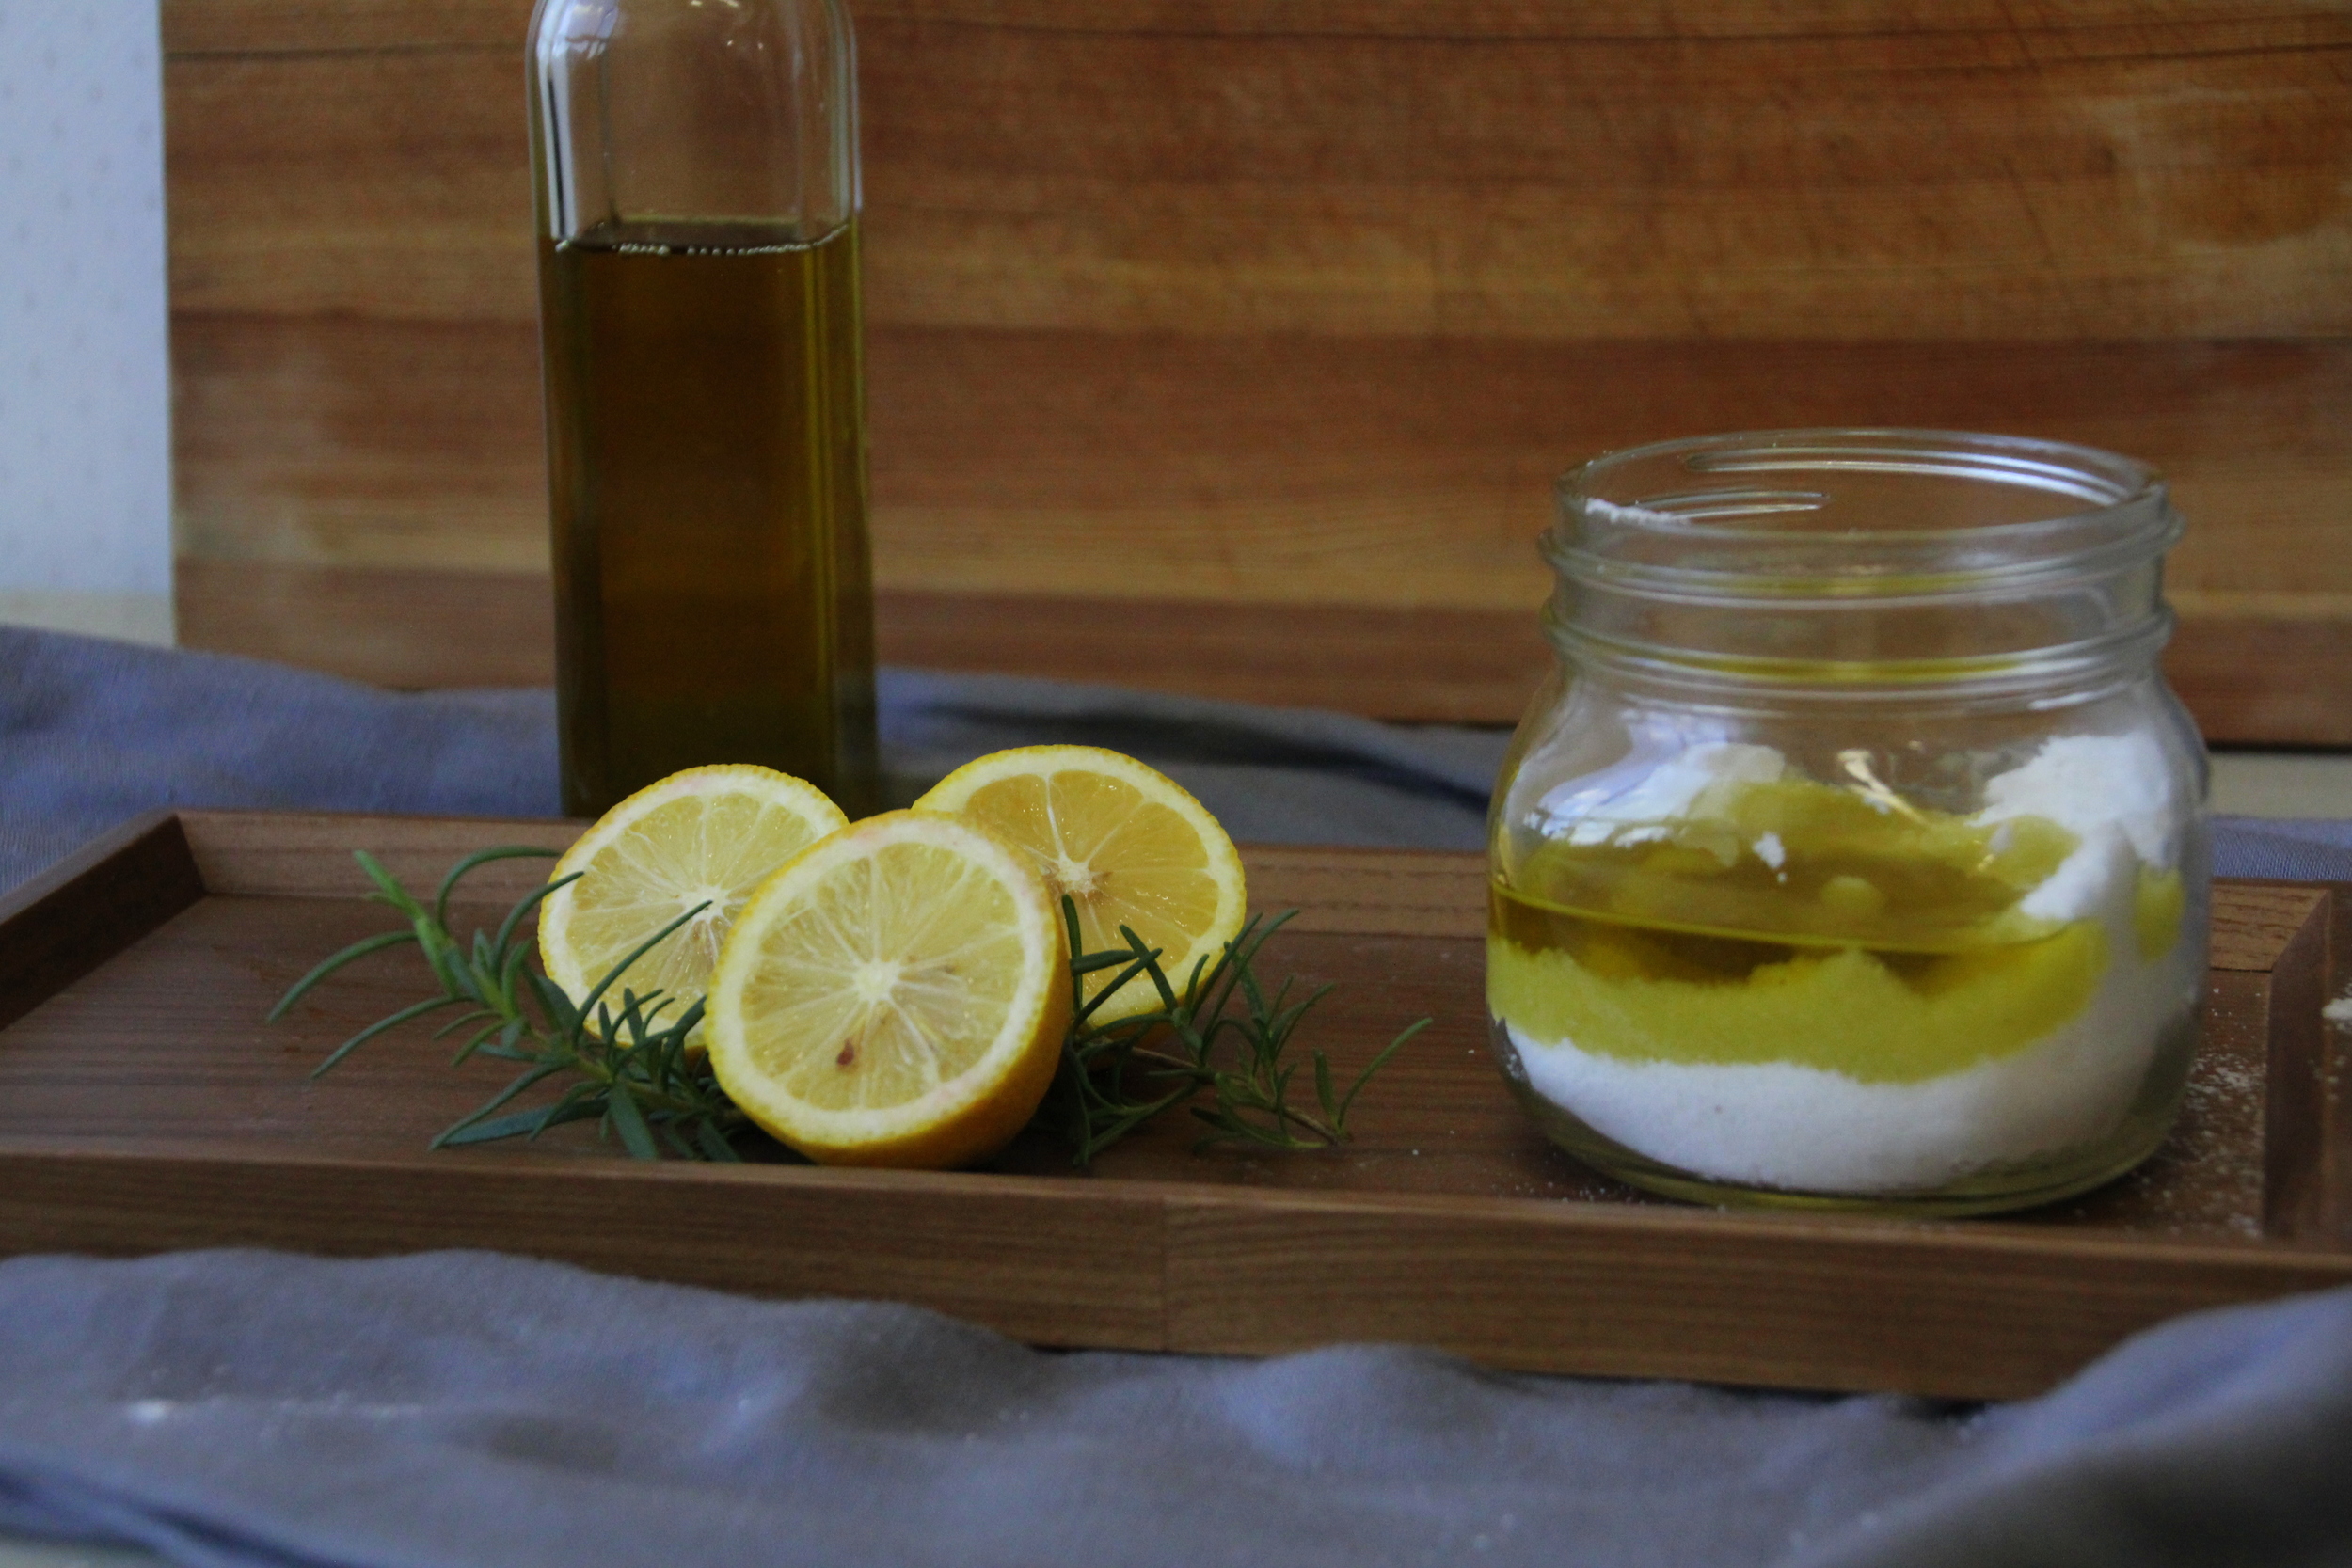
Purifying Rosemary-Lemon Scrub
Zest your lemon, and drop the zest in the jar. Cut the lemon in half and squeeze the juice into the jar as well. Add 5 drops of rosemary oil and 5 drops of lemon oil, along with a few chopped up rosemary leaves. The leaves are totally optional, but I love how they contrast with the sea salt mixture! Mix it all together, and enjoy!

Purifying Rosemary-Lemon Scrub
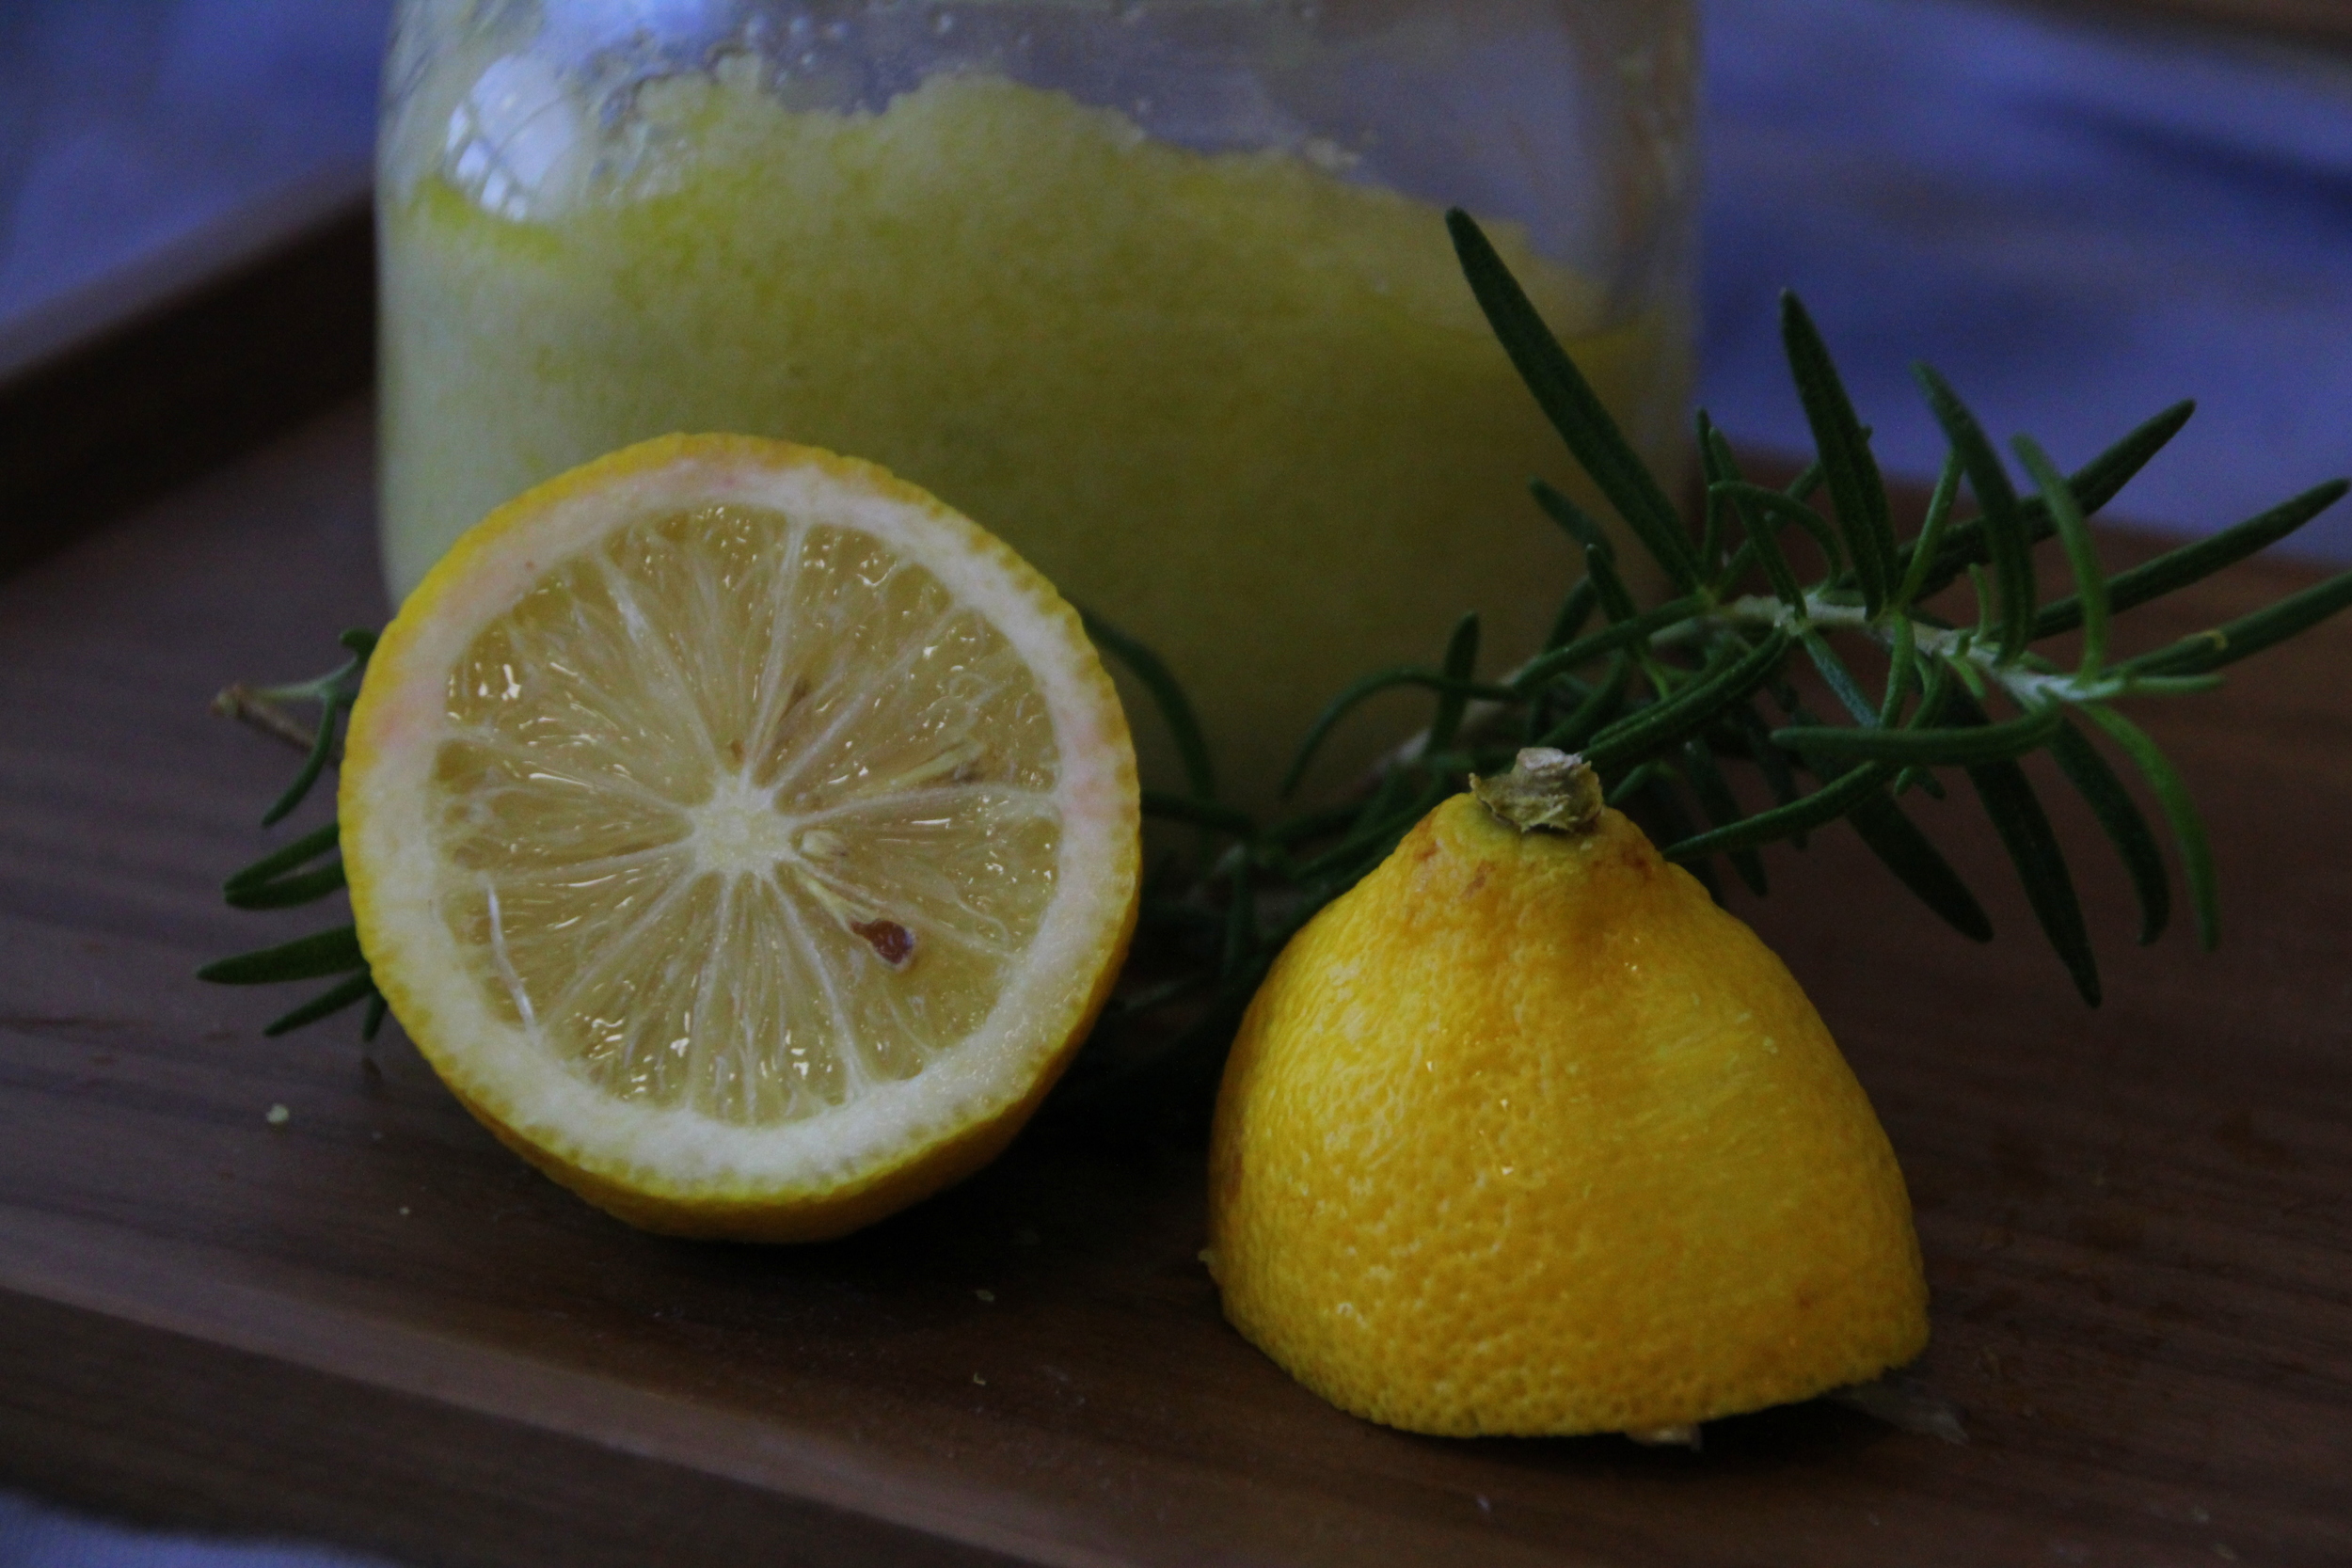
Purifying Rosemary-Lemon Scrub
Vanilla Cinnamon Whipped Body Butter

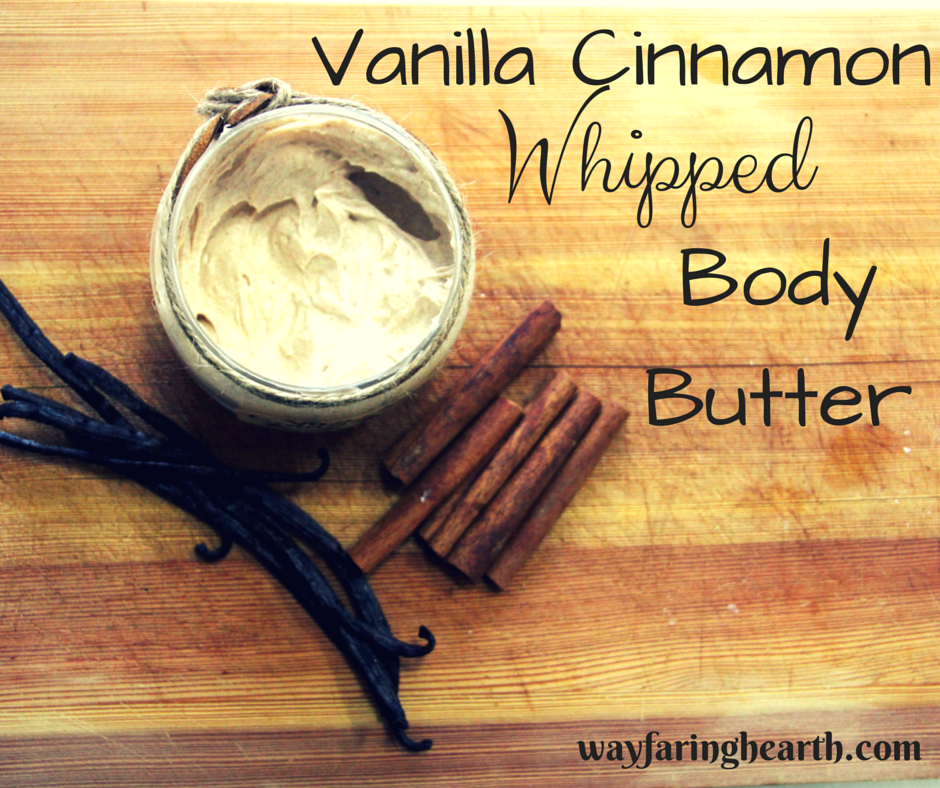 As the cold weather settles in, I change out my sandals for boots, my blouses for sweaters, and add more blankets to our bed. Fall invokes different sentiments than the vibrant summertime. It makes you want to cuddle up on the couch with hot chocolate and a good book, and suddenly there seems nothing wrong with staying in all day. I also tend to change out my usually light and fruity perfumes for warmer, more comforting scents. This Vanilla Cinnamon Whipped Body Butter is just what the doctor ordered.


A while ago I asked Facebook to vote on a scent, and Vanilla Cinnamon was among the most popular. I decided today was the day to finally whip it up (literally), and less than 10 minutes after starting the process, I was done. There are so many reasons to make your own body butter. It's much less expensive, you can choose your scents, and you don't have to worry about your skin soaking up any toxins or chemicals.

Here's what you'll need:
1/2 cup fair trade shea butter
1 Tablespoon vanilla extract
1/2 Tablespoon almond oil
1 teaspoon Vitamin E oil
1 teaspoon cinnamon
First, add all of your ingredients into a bowl.

Grab your hand-mixer and whip the ingredients at medium speed for 30 seconds, then increase the speed to high and whip until your body butter is light, beautiful, and fluffy (about 1-2 minutes).
It should look something like this:

Gorgeous, isn't it? Now, all you have to do is throw it in a jar and it's ready to use! Since this is a body butter, it's heavier than a regular lotion, and will make your skin oh-so-soft. I love to use this after shaving my legs. The light and fluffy texture makes this look like frosting! Enjoy!


How to Organize Small Spaces: Bathroom Edition

How to organized small spaces: Bathroom edition
When you're a normal-sized couple living in an apartment made for small people, you have to get creative with storage.
We're not sure why the everything is so low in our apartment, because from what we've seen, Koreans are actually pretty darn tall! I have noticed that we are of average height here, even Nate, who is 6' 3". Who would have thought? In fact, I had the strange experience of trying on pants here that were too long for me, which has never happened. Typically, after wiggling into a pair of pants that I'm trying on, Moses' flood has nothing on me.
Anyway, back to organizing things.
Our apartment has a good amount of storage...in the living room and hallway. That leaves us with a mess of stuff in the bathroom. I don't have a ton of things, but a small medicine cabinet just does not cut it when it comes to storing make-up, contact solution, lotion, nail polish, razors, and the many other things that belong in that space. We do have a small ledge above the sink, but I hate how it looks with a bunch of stuff sprawled all over it. Here's a sample to give you a feel for what I'm talking about:
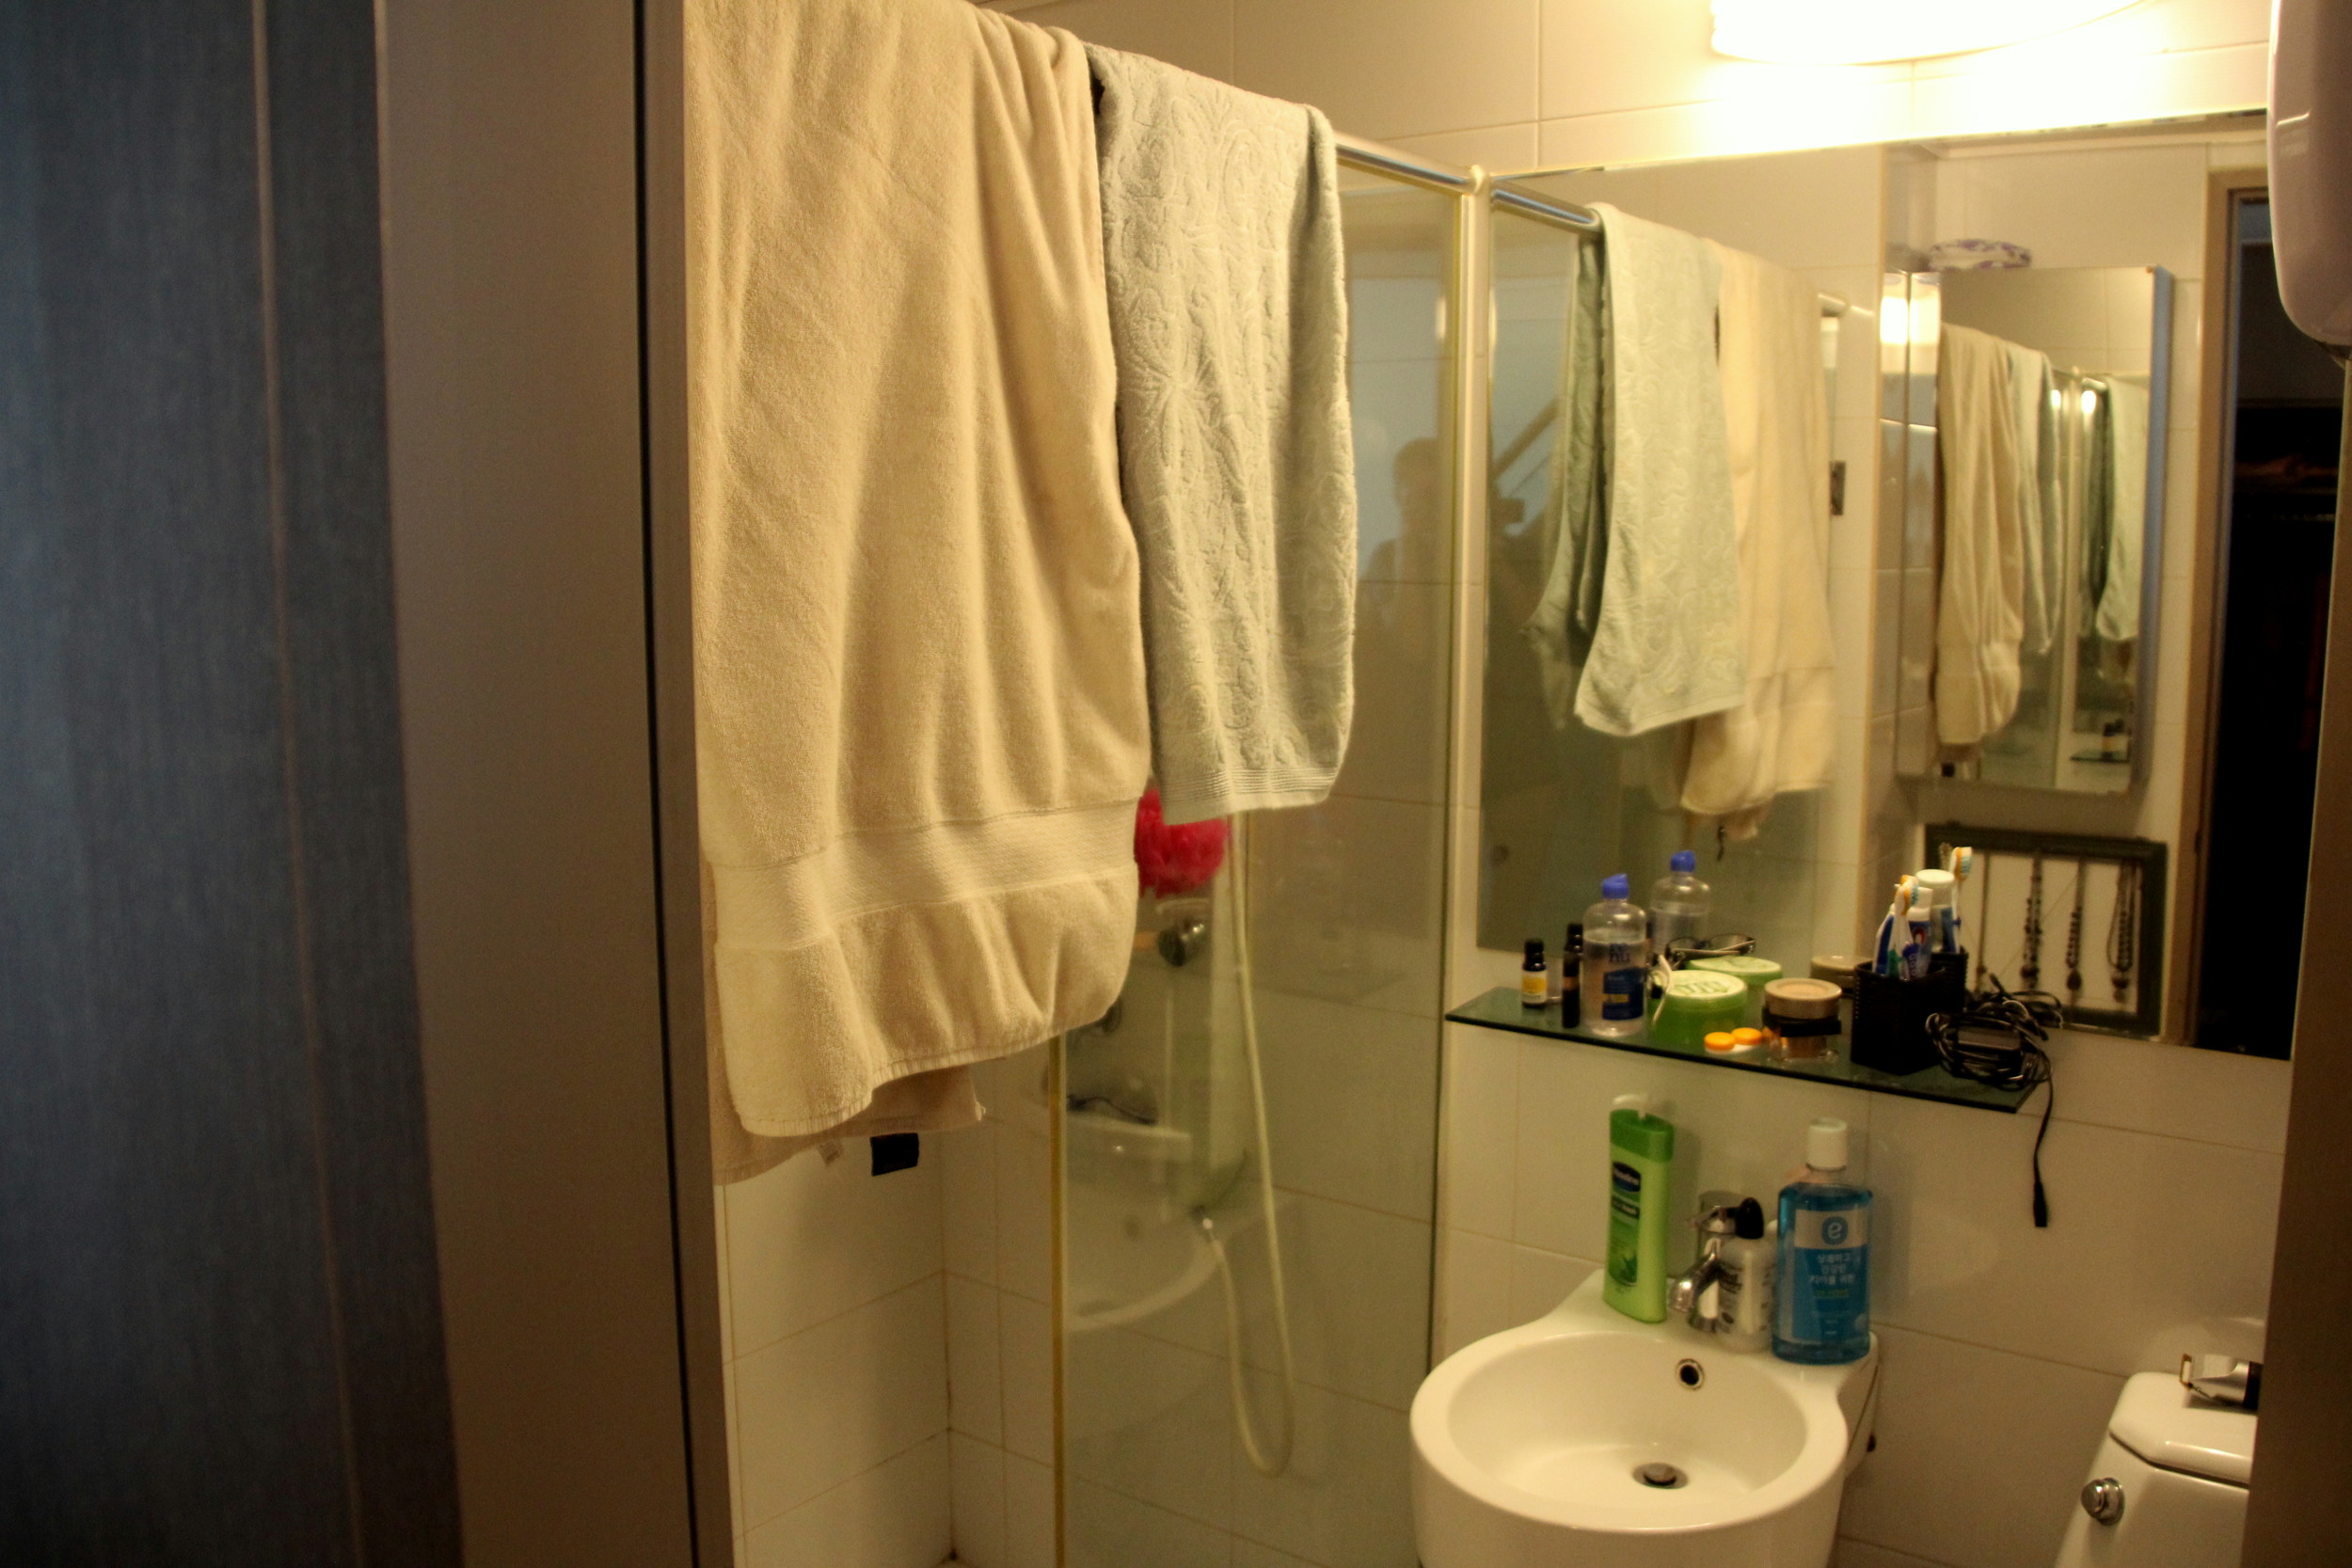
How to organize small spaces: bathroom edition
See what I mean? Here's our only place for storage in the bathroom, which was also a hot mess:

How to organize small spaces: bathroom edition
Yeah...
So, with a little bit of planning I set off in search of things that would help our bathroom be more organized, and I came up with some rules to live by when making tiny spaces more functional.
- Use that wall space!

- The bathroom doesn't have room for shelves or drawers, so the wall gave me the perfect space to add more storage. We are renting, so permanent solutions were not an option. To hang things, I went with hooks similar to command strips since the bathroom is completely tiled from floor to ceiling.
- Hang your towels on hooks, not bars.

- Bars are great, but they take up way more space than a simple hook. These are easy to find at any Lowe's or any supermarket.
- Find some cute jars to hold small items.

- Usually I use various sizes of mason jars, but they are SO expensive here. I just went with some Korean glass jars I found at Daiso. These are great because you can store things you need frequent access to, but need to keep neat.
- Keep things you use most in easy-to-reach places.

- This seems like a no-brainer, but I can't tell you how many times I've organized a space to make it beautiful, without keeping in mind what I use most. This means that I'll be digging to find something on a daily basis, and that creates more mess than anything. We're going for convenience AND cleanliness here, folks. For me, this meant keeping bobby pins, contact solution, face lotion, eye make-up remover, and mouthwash front and center.
- Get crafty.

- Try to up-cycle whenever possible, whether it's jars, hooks, or other items. This not only organizes your space, it gives it a personal touch that looks more like decoration than anything. I decided to use an old picture frame and some hooks to hang my necklaces:
Here's the finished product:

How to organize small spaces: bathroom edition
And the result of the finished product:
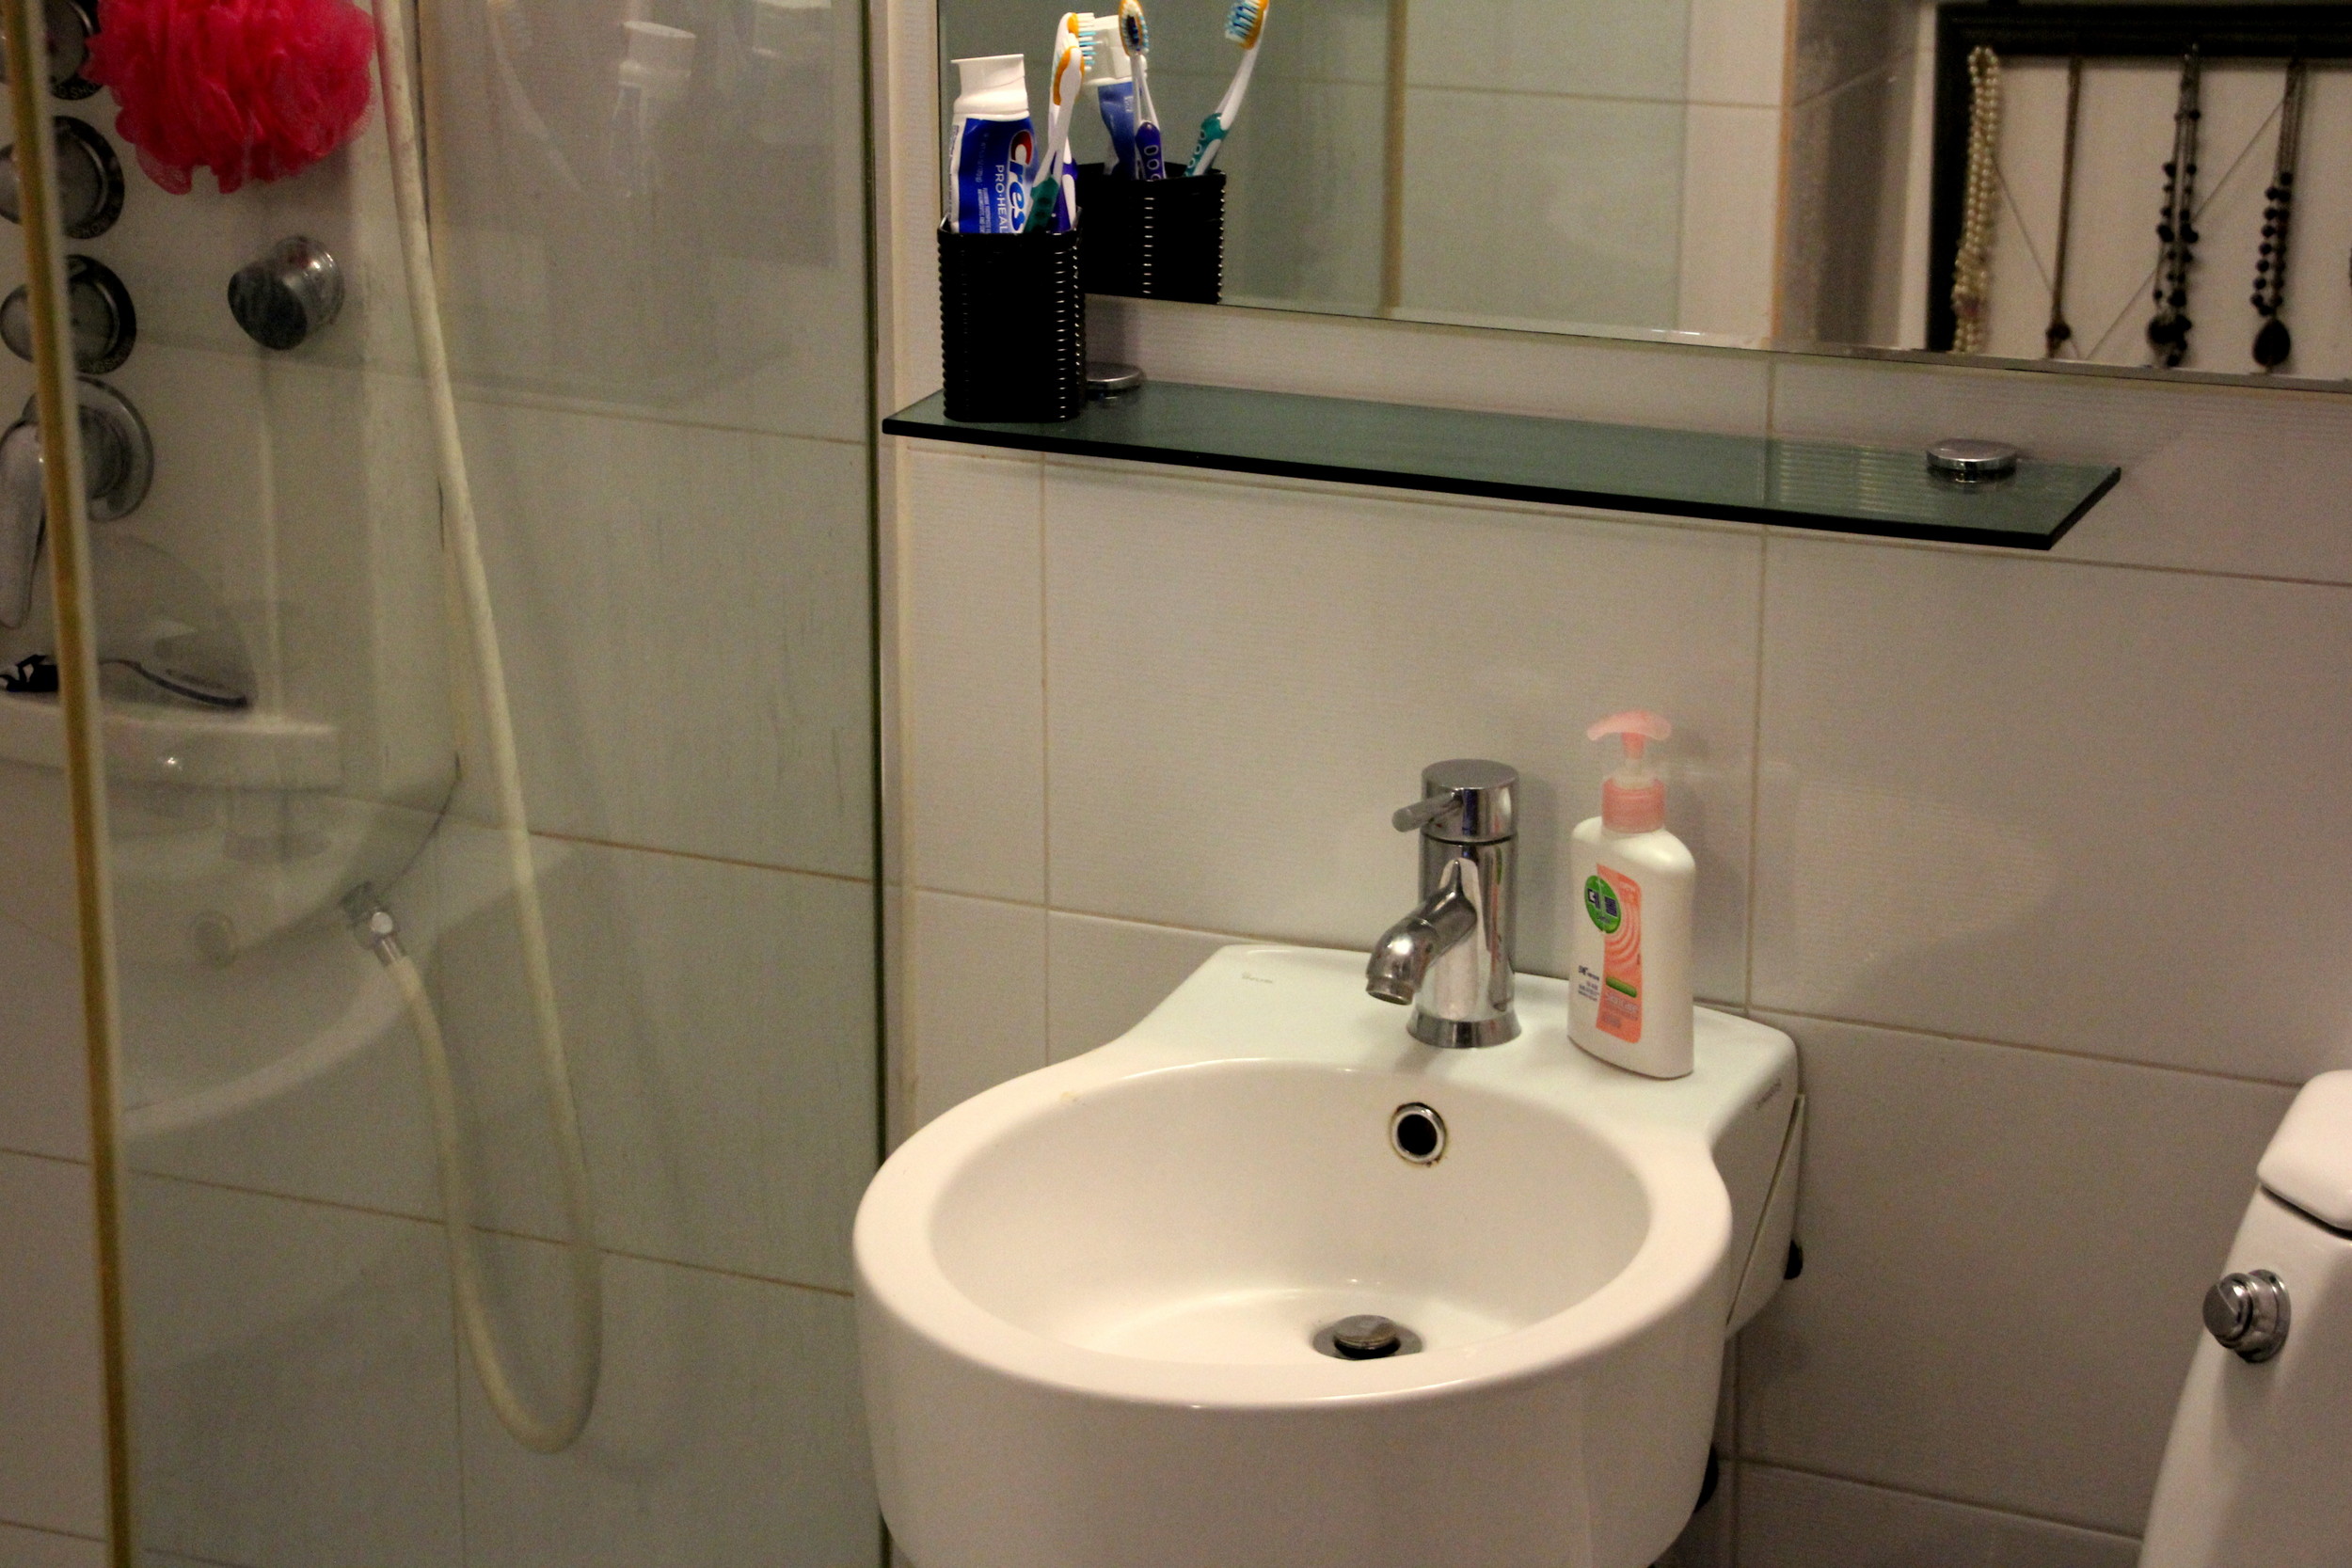
How to organize small spaces: Bathroom edition
Finally, I don't have to worry about knocking my glasses into the trash when I'm blindly searching for them.
What things have you done to organize your small spaces? I'd love to hear your ideas!